
How to Use MM Base
Once your Supabase setup is complete, you can log in to MM Base to create and manage content.
1. Connect MM Base with Supabase URL and API Key
In this step, you'll connect MM Base to Supabase so they can exchange data.
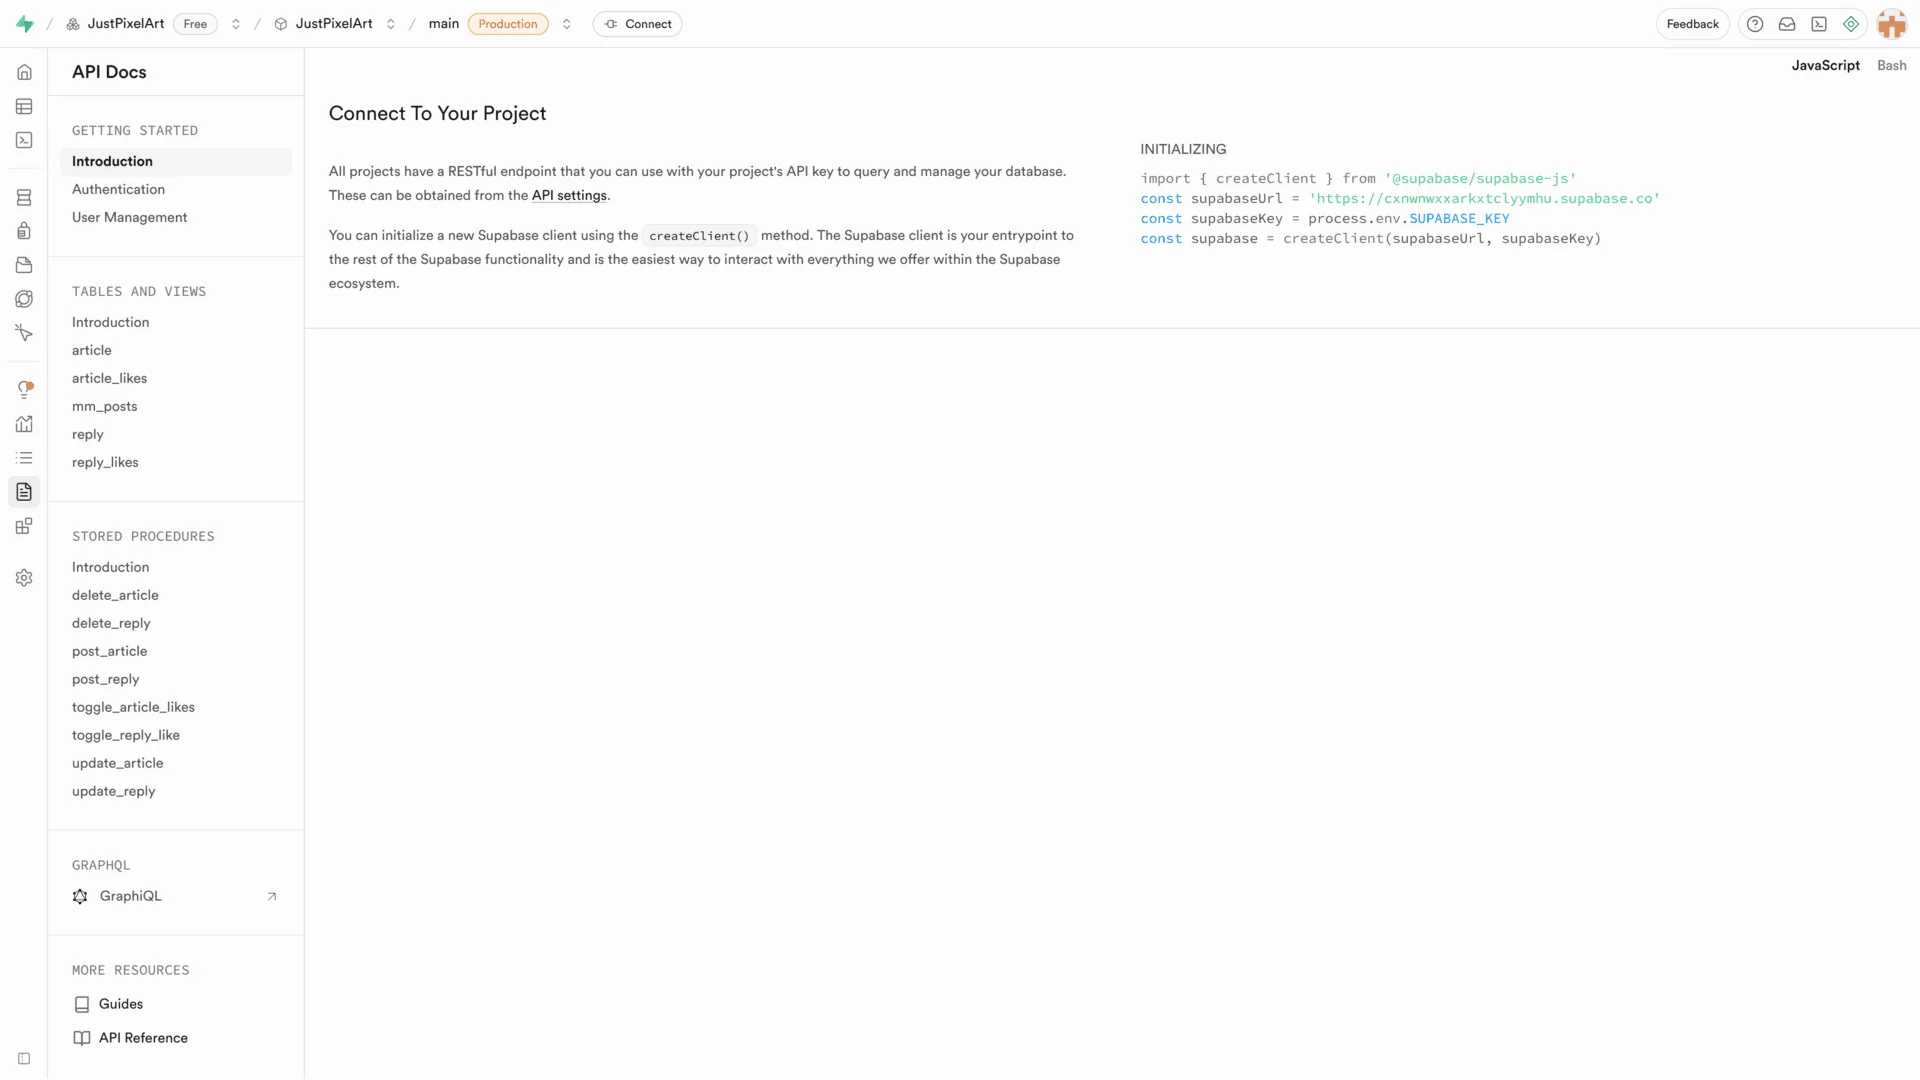
1-1. From the left menu → API Docs → Introduction, find your supabaseUrl.
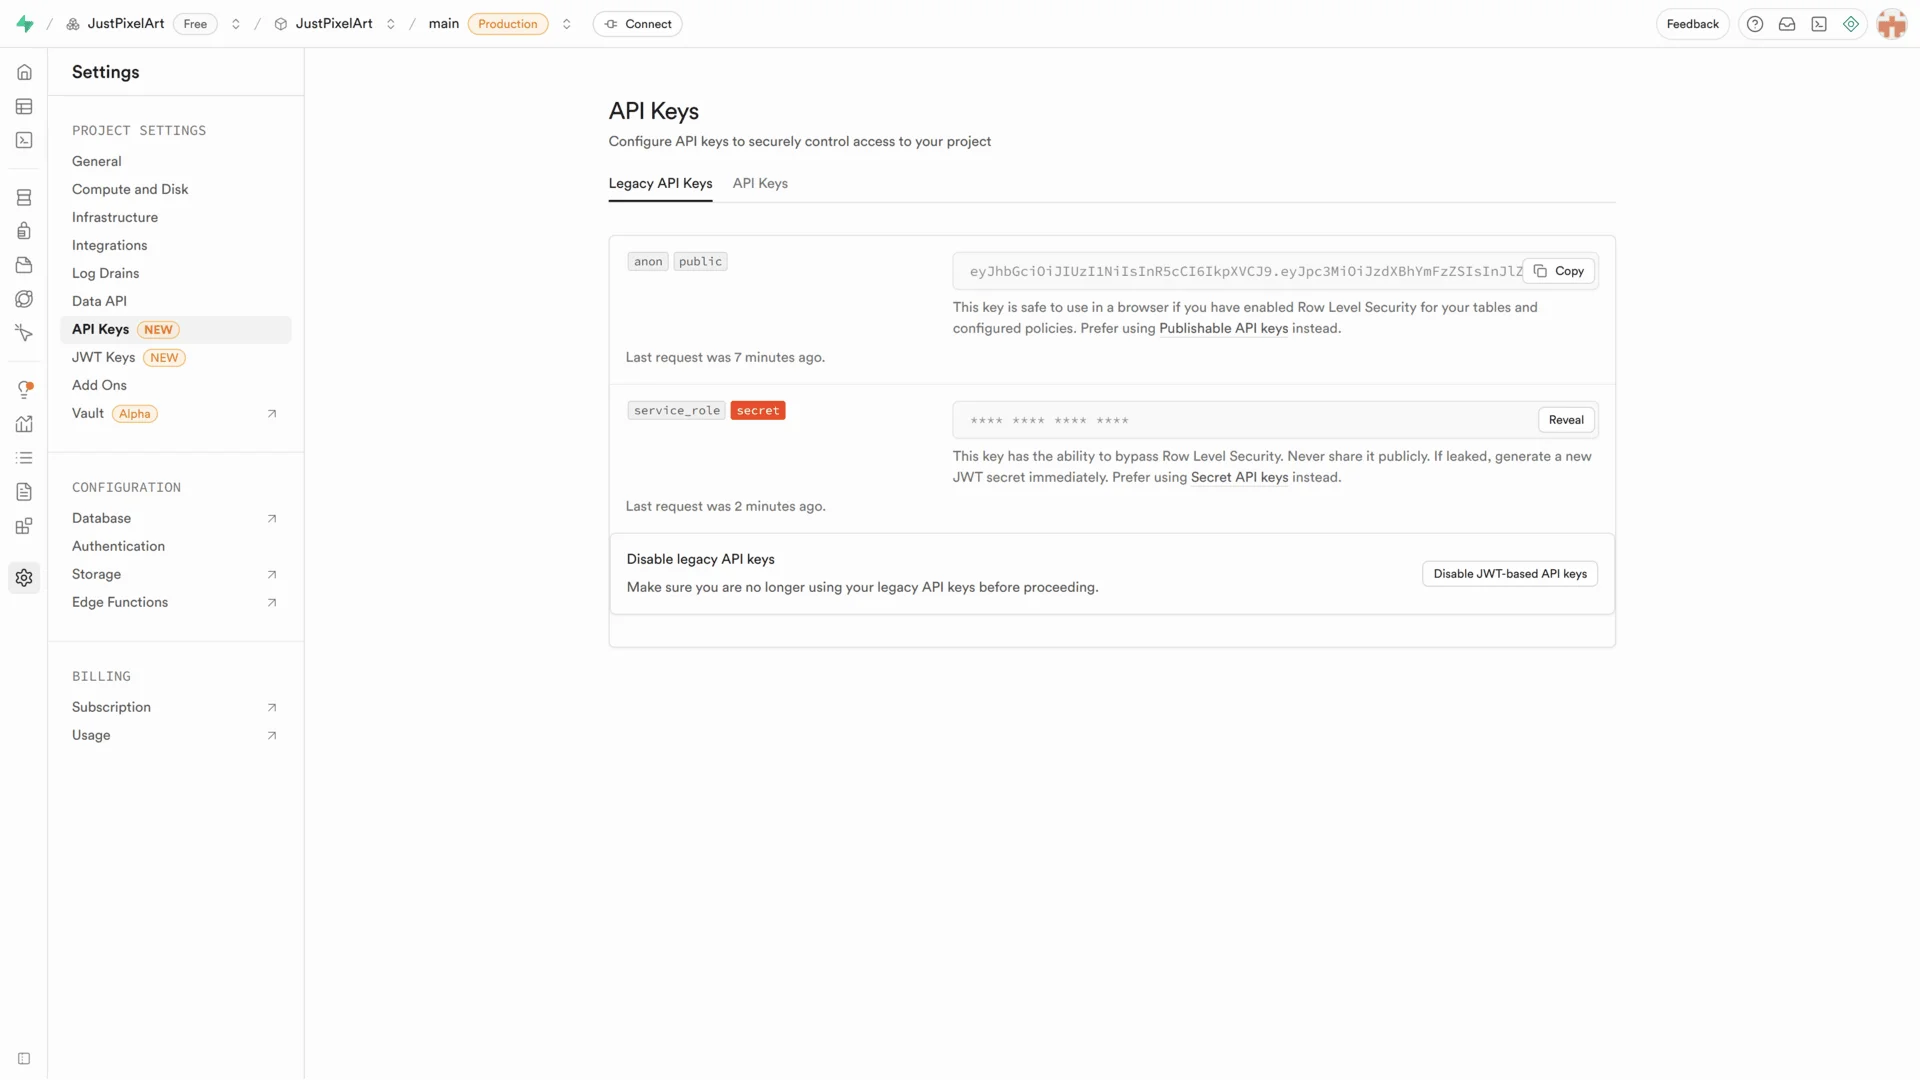
1-2. From the left menu → Project Settings → API Keys → Legacy API Keys tab, find the Api Key under anon public.

1-3. Enter the supabaseUrl and Api Key into MM Base.
⚠ Once connected, your credentials will be saved, so you won’t need to re-enter them.
2. Log in with an Admin Account
MM Base can only be accessed using a pre-registered admin account.
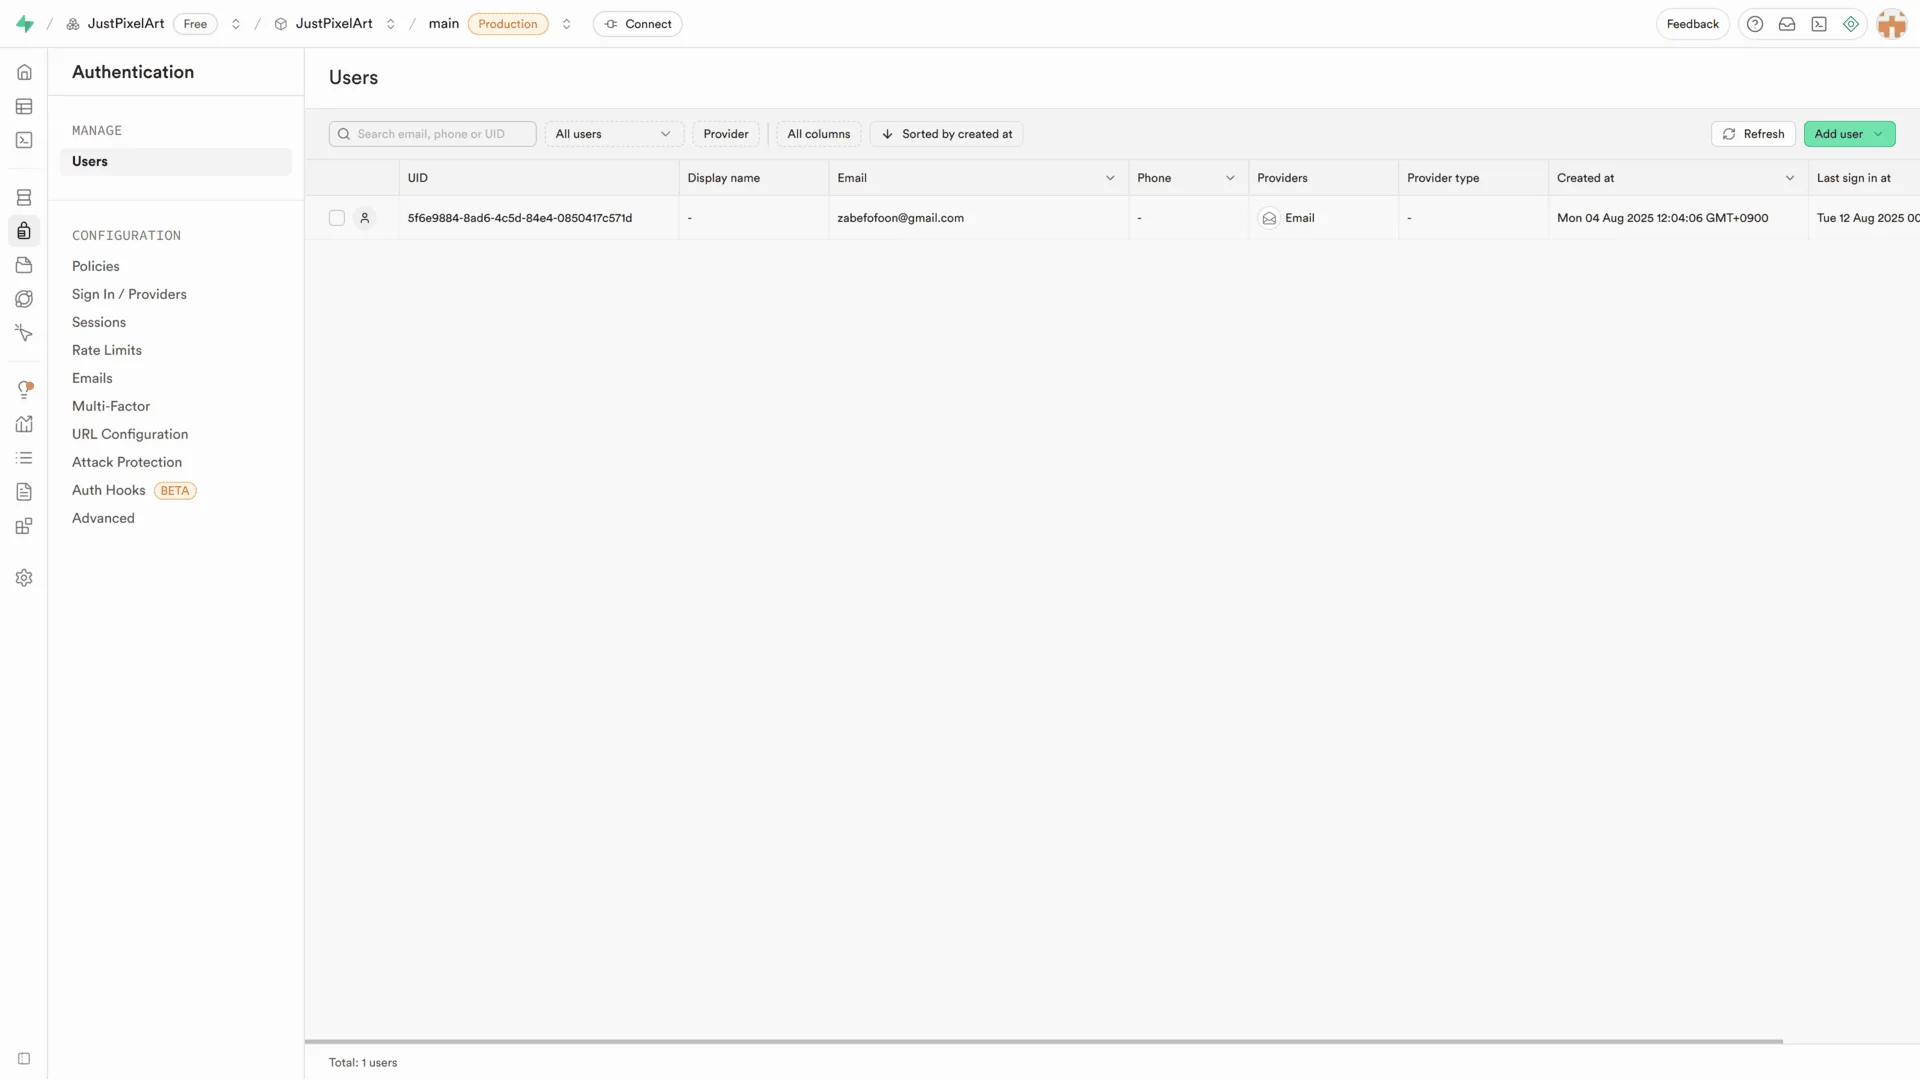
2-1. Verify the admin account you created in Supabase.
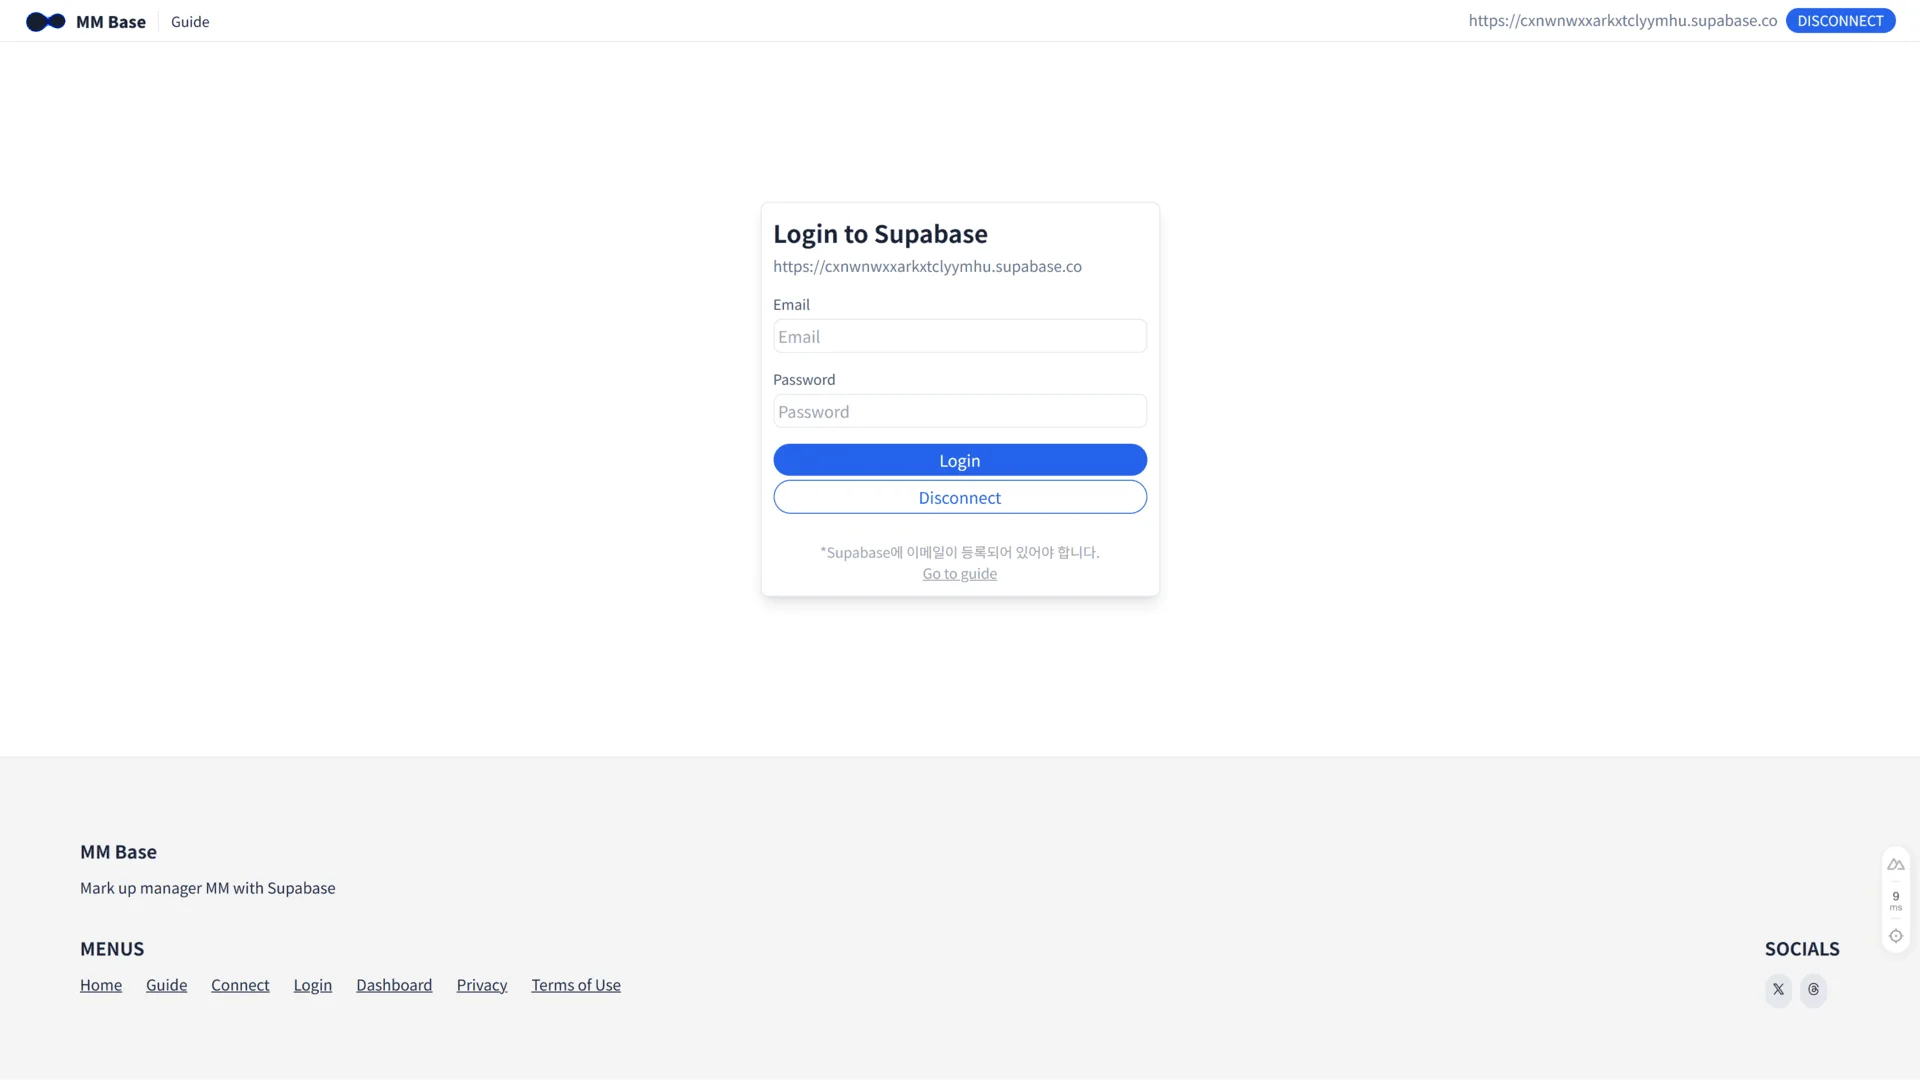
2-2. Log in to the MM Base login page using your admin account.
3. Create and Configure an MM Base Project
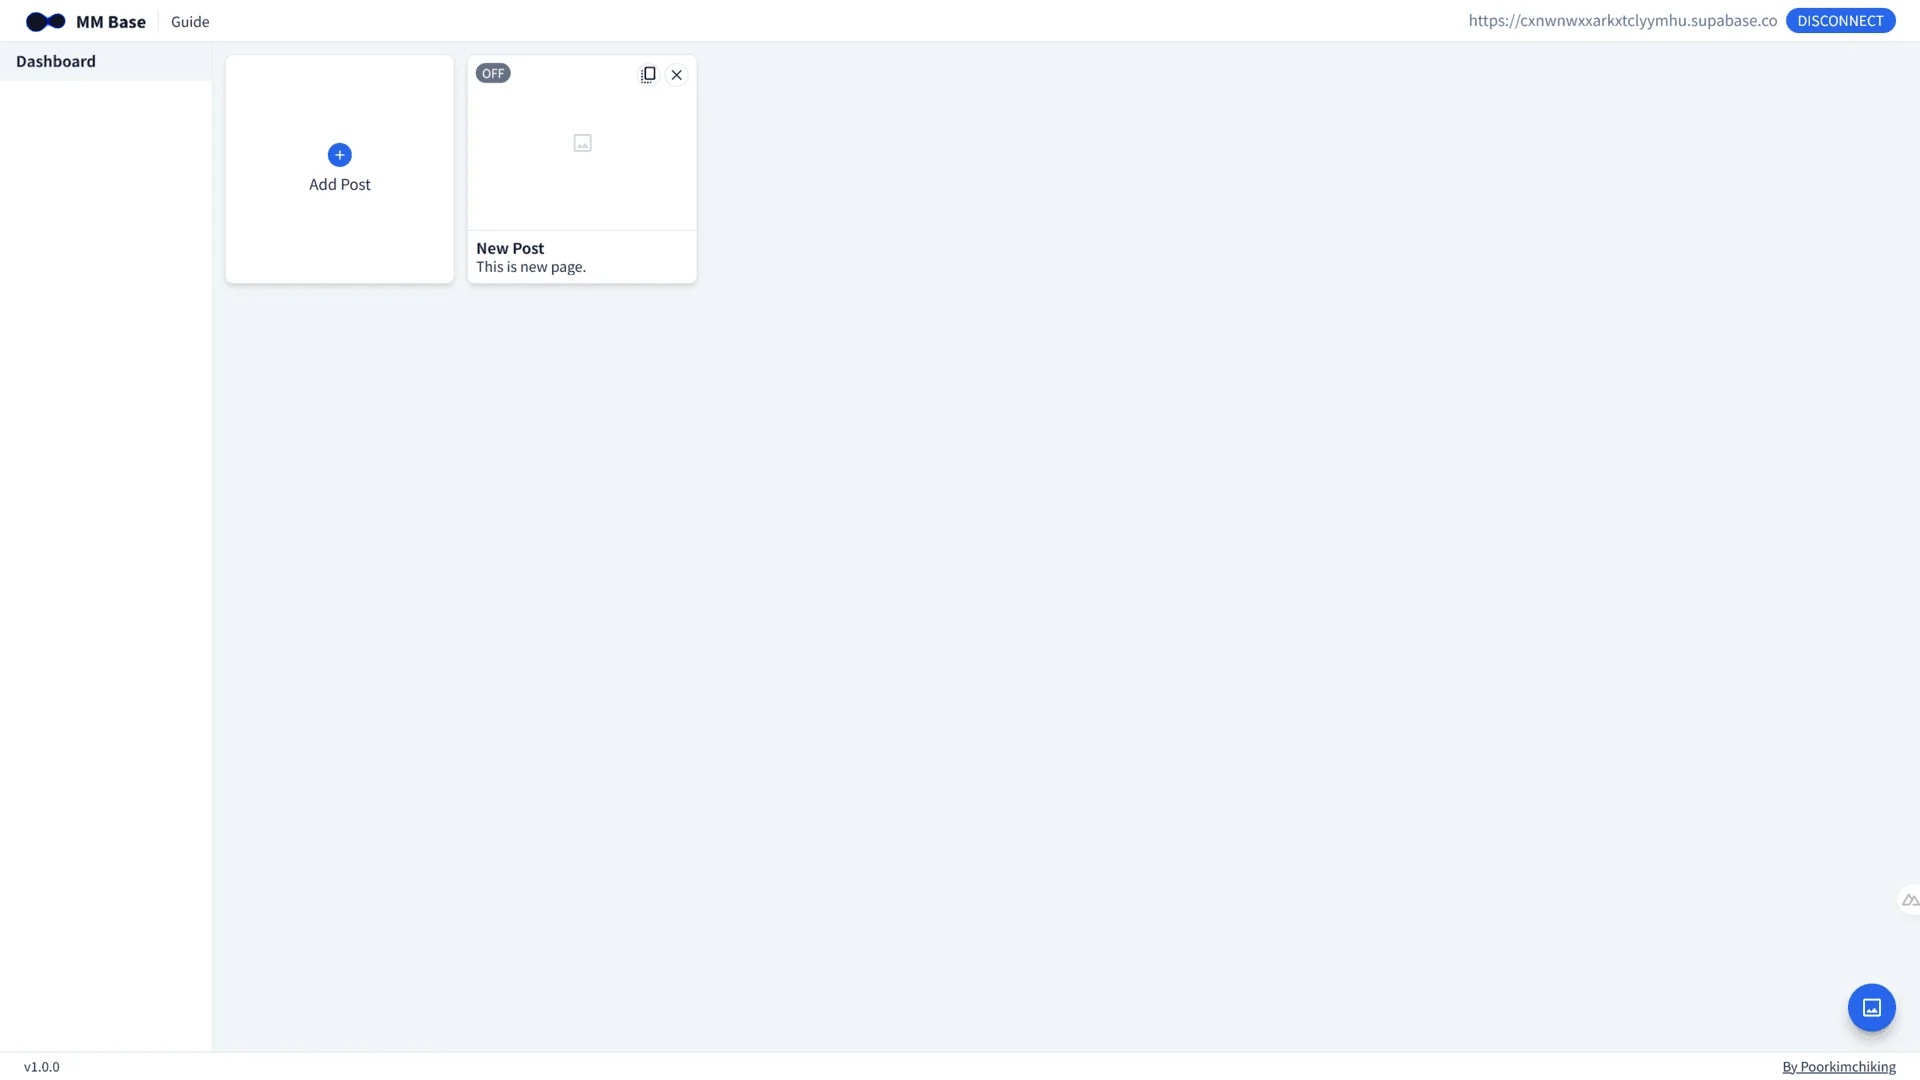
3-1. Click Add Post to create a new project.
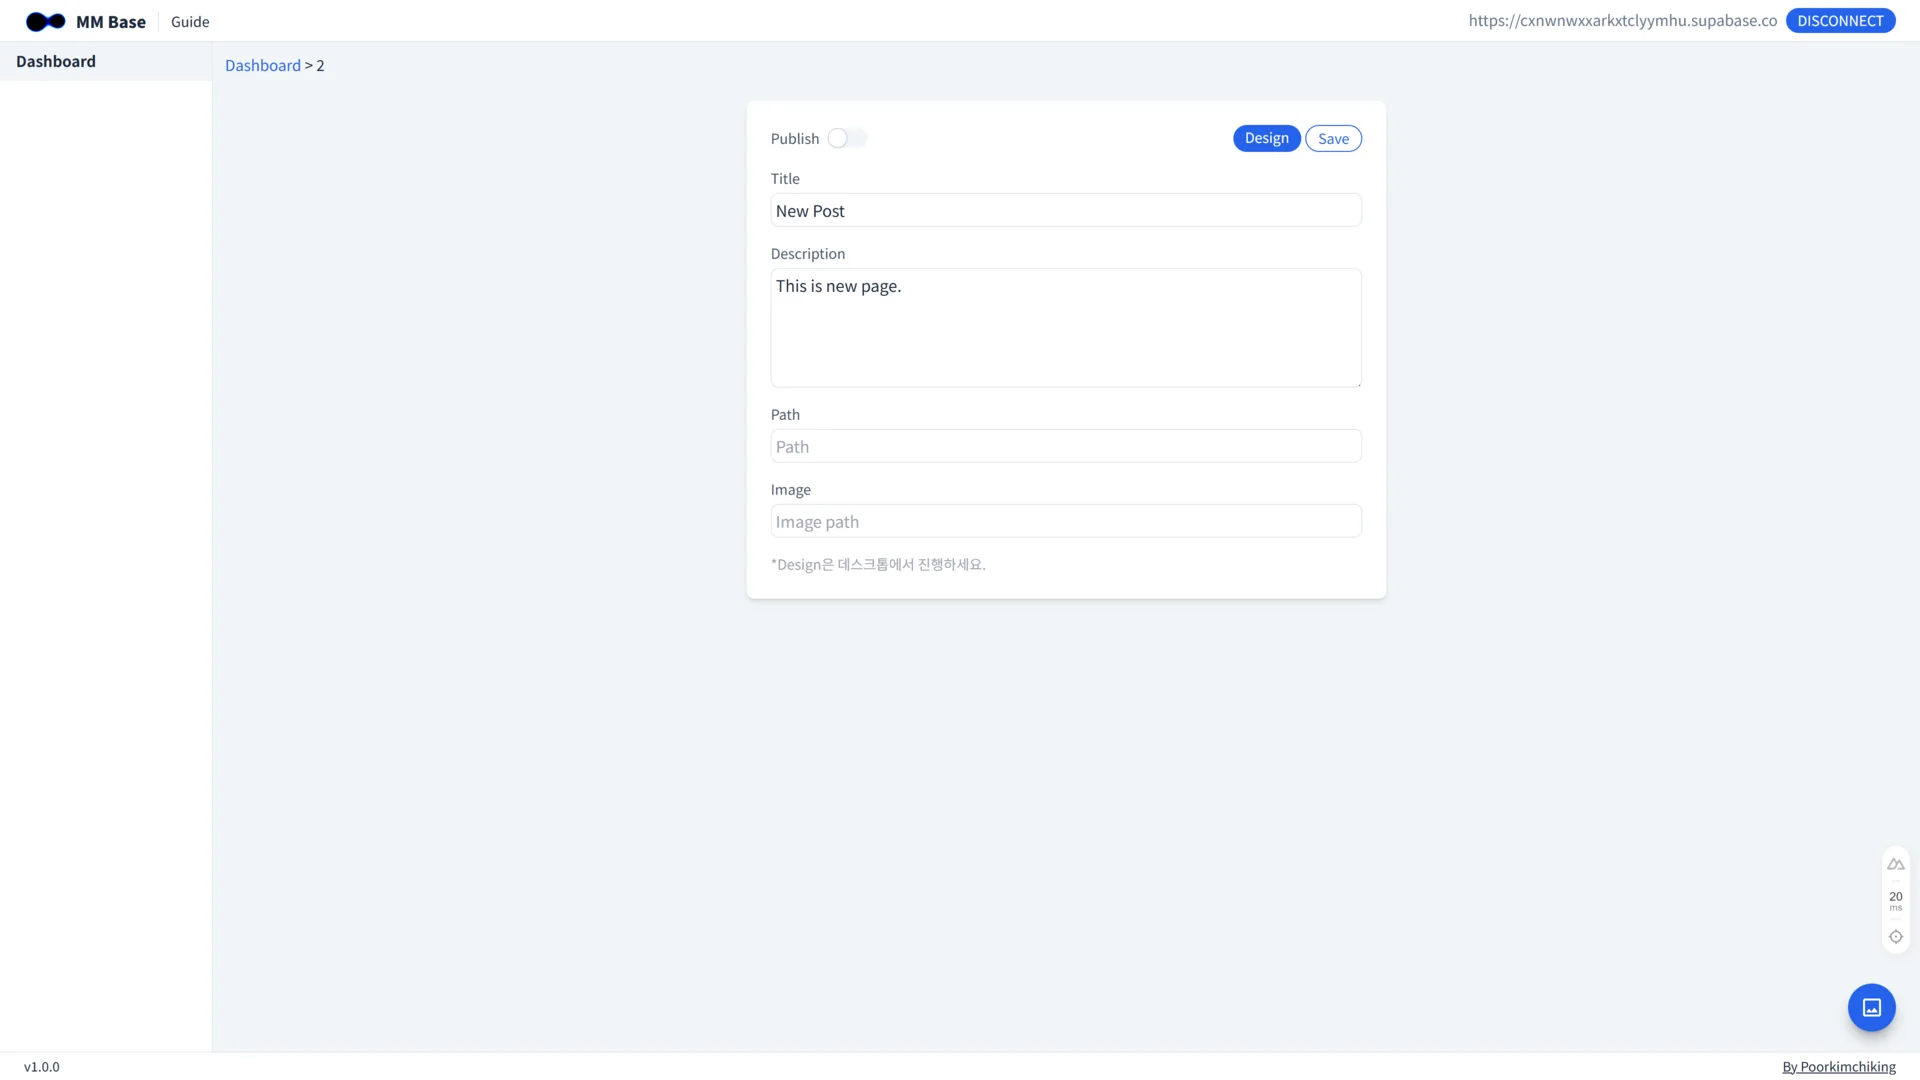
3-2. Click on the created project to start configuring it.
Field descriptions:
- Title: Page title (used in the HTML
<title>tag) - Description: Page description (used in the HTML
<meta name="description" content="">) - Path: Page URL path (including relevant keywords is recommended for SEO)
- Image: Image displayed when sharing the link (used in
<meta property="og:image">)
⚠ Be sure to save changes after editing.
4. Page Design
Click the Design button → Use Mark up manager MM to start designing.
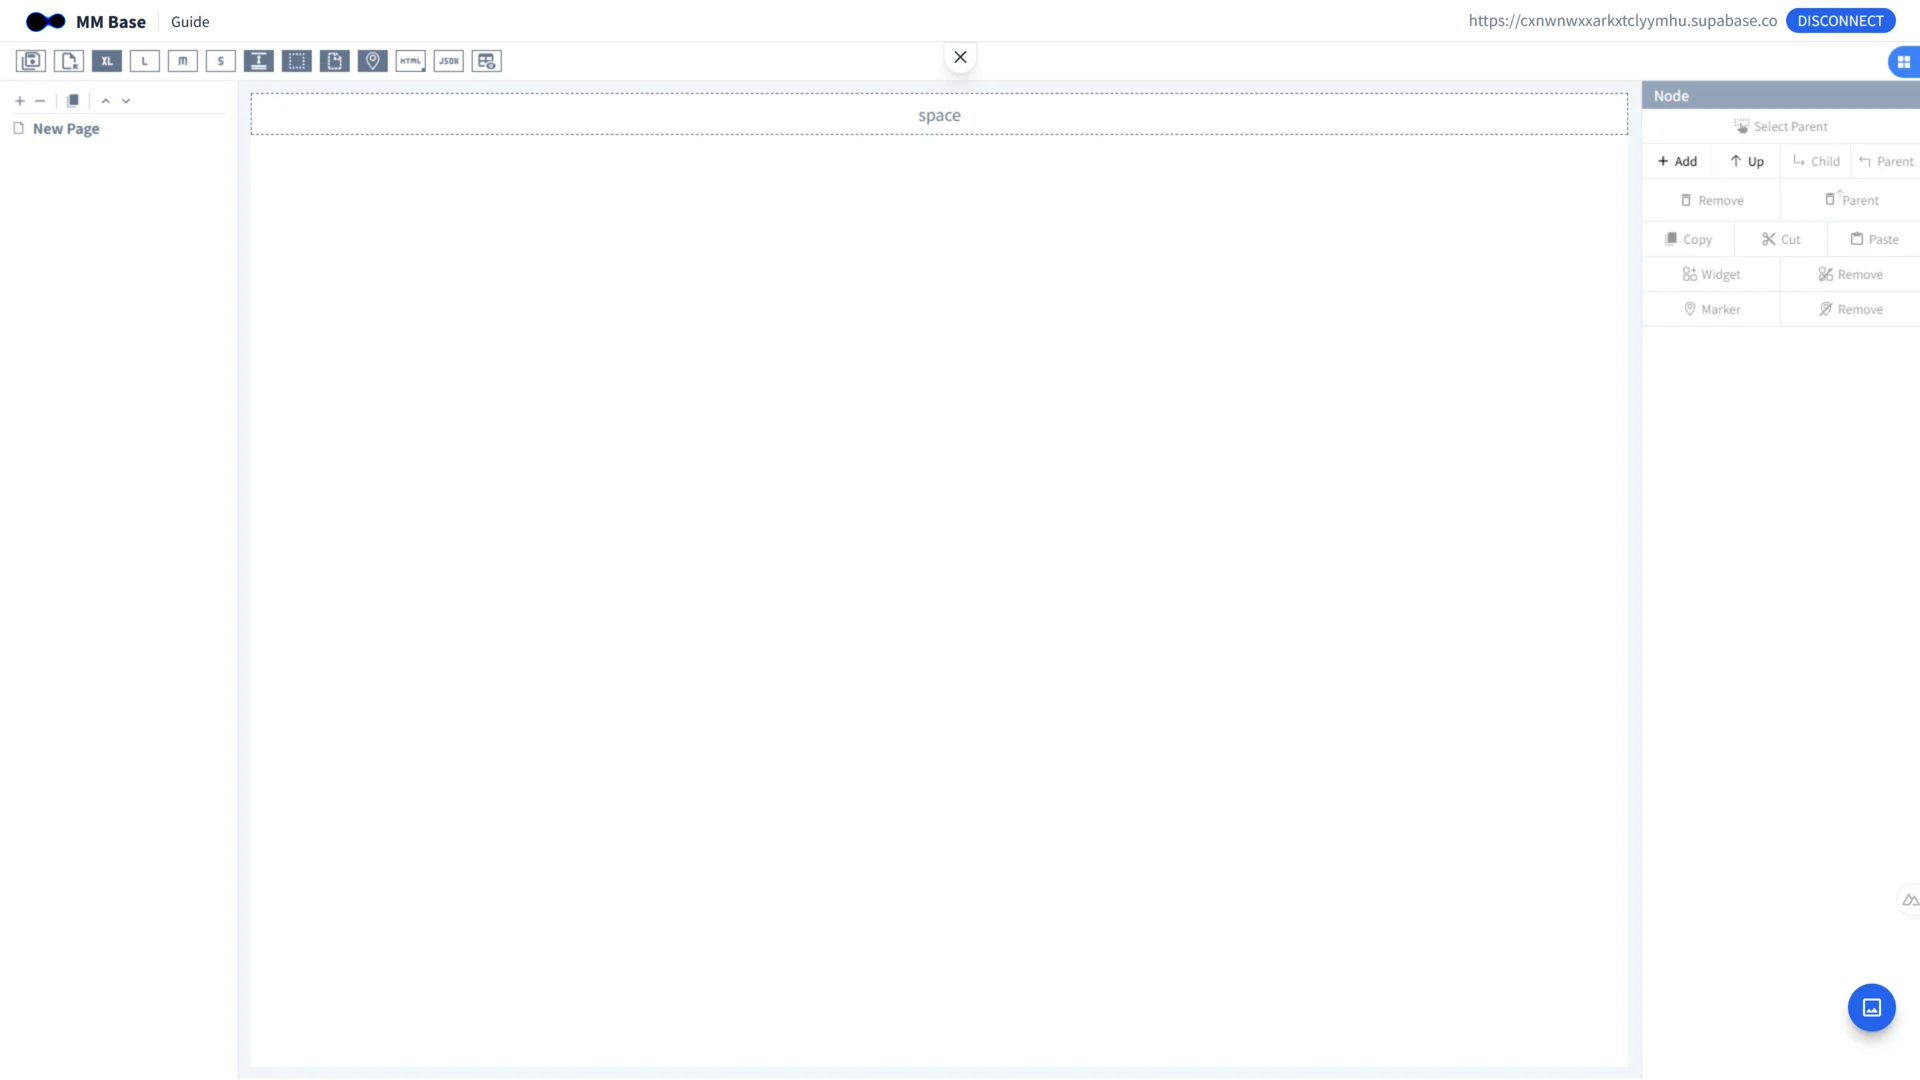
4-1. Begin designing your page.
⚠ Be sure to save changes after editing.